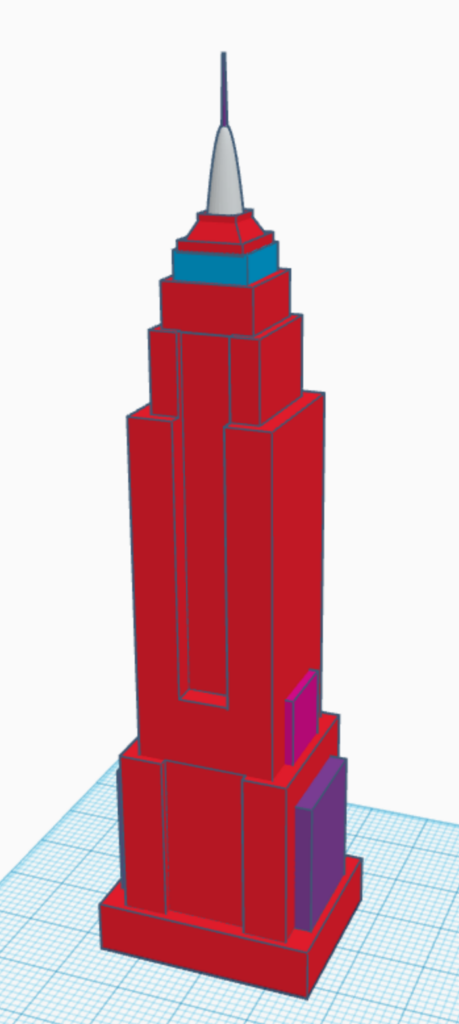
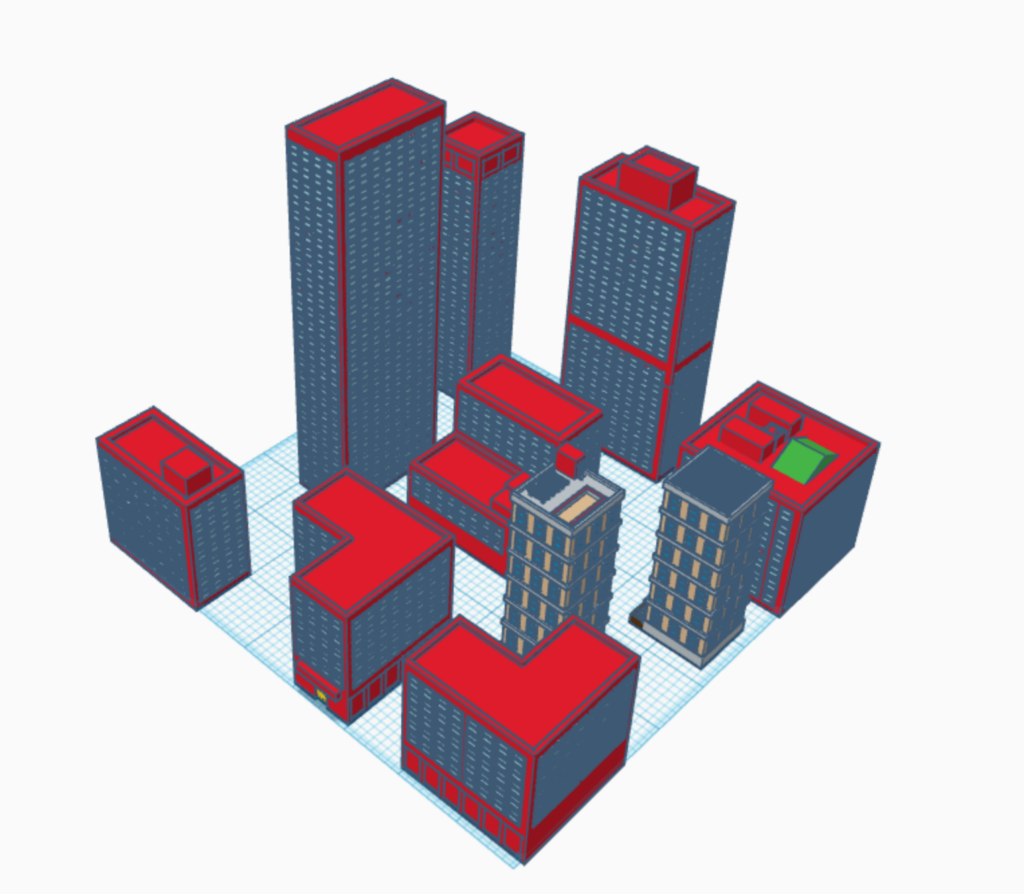
TITLE: Empire State Building/ Buildings
YOUR ROLE: 3D Modeler
MEDIA: 3D Modeling
SOFTWARE: Tinkercad
HARDWARE: Windows 11
CLASS: FMX 322-1 – Visual Effects
PROFESSOR: Javier Olarte
SEMESTER / TERM: FA 23
INSTITUTION: University of Tampa
DESCRIPTION: I used several images of the Empire State Building for refrence. I created mutidle of squares and placed them together matching the portions to that of the images. I then added the spike ontop with some tringle and half a circle. Then I removed parts of certian squares to create the proper indents. I then created a few diffrent building useing simalir techniques. Then I made sure everything was ready for exporting for 3d printing.
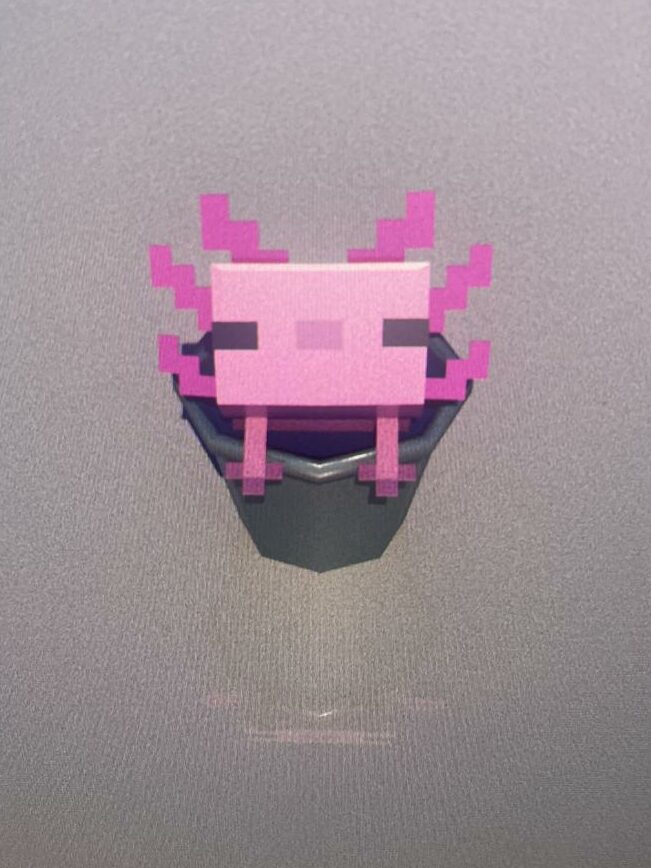
TITLE: Axol
YOUR ROLE: 3D Modeler
MEDIA: 3D Modeling
SOFTWARE: Maya
HARDWARE: Windows 11
CLASS: FMX 213-1 – 3D Printing and Modeling
PROFESSOR: Stephen Dinehart
SEMESTER / TERM: SP 23
INSTITUTION: University of Tampa
DESCRIPTION: I used a refenece images of someone’s drawings a of MC Axolotl in a bucket to base the model on. I then created the axolotl and bucket separately. I used squares placed together to make the axolotl and beveling/extruding to make a bucket. I then textured them and combined them into one model. Then I made sure ready for export after smoothing the bucket out.
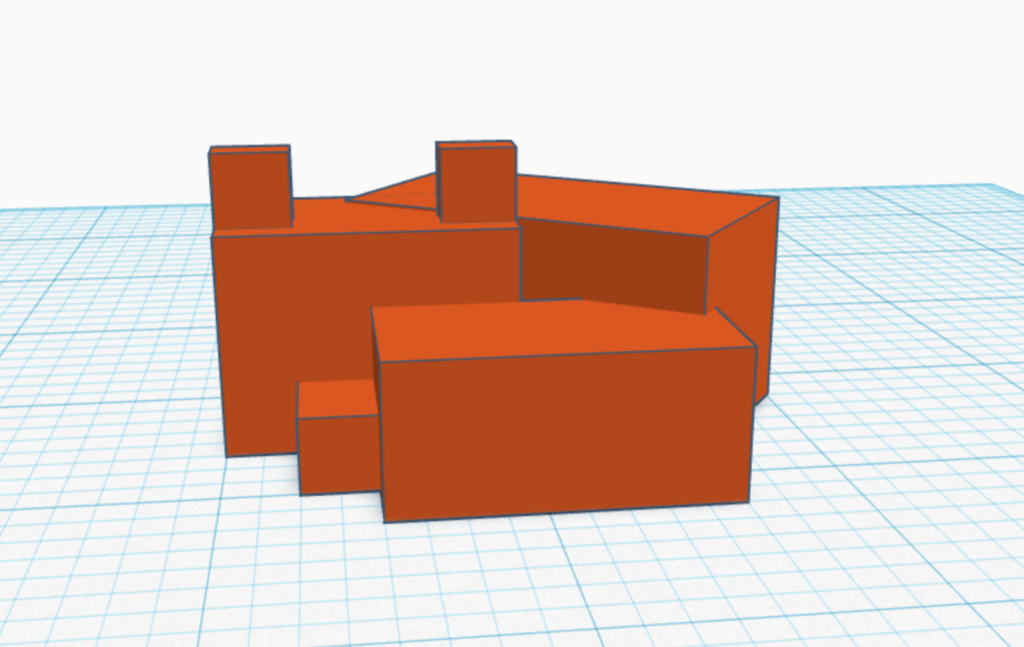
TITLE: MC Fox
YOUR ROLE: 3D Modeler
MEDIA: 3D Modeling
SOFTWARE: Tinkercad
HARDWARE: Windows 11
CLASS: FMX 213-1 – 3D Printing and Modeling
PROFESSOR: Stephen Dinehart
SEMESTER / TERM: SP 23
INSTITUTION: University of Tampa
DESCRIPTION: I created several squares and started to place them together. I used a picture of a minecraft fox for reference and adjusted the squares to make the preportions accurate to the minecraft model. I angled on of the large squared to make it smee as if the fox was curled up. I then made sure the model was ready to download for 3d printing.
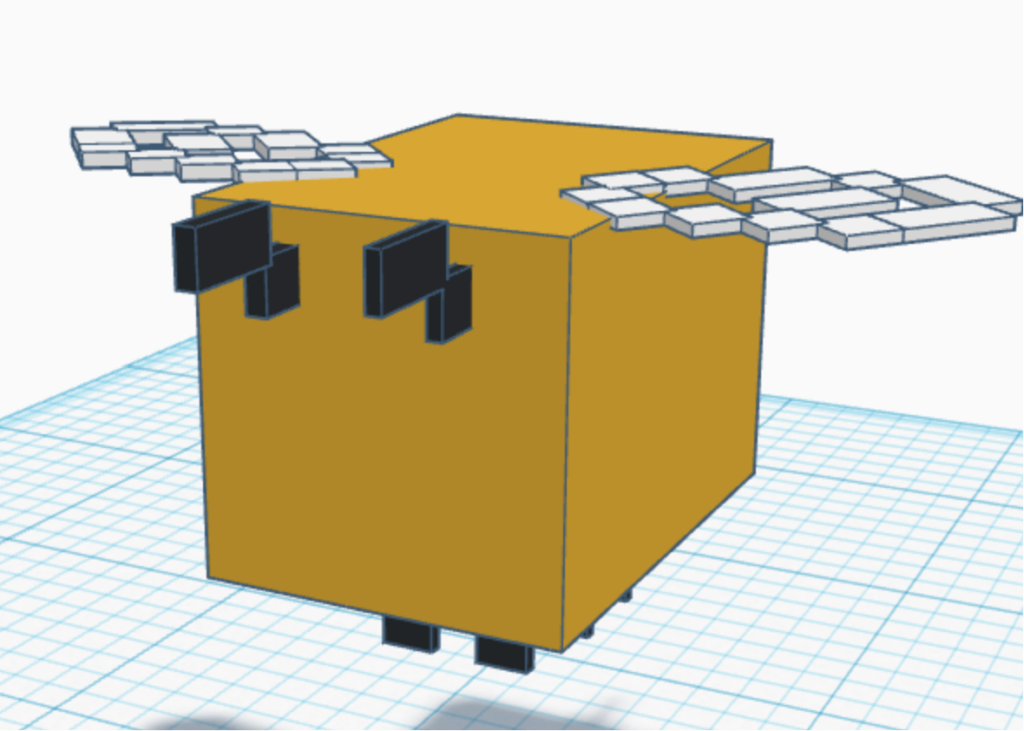
TITLE: MC Bee
YOUR ROLE: 3D Modeler
MEDIA: 3D Modeling
SOFTWARE: Tinkercad
HARDWARE: Windows 11
CLASS: FMX 213-1 – 3D Printing and Modeling
PROFESSOR: Stephen Dinehart
SEMESTER / TERM: SP 23
INSTITUTION: University of Tampa
DESCRIPTION: I created several squares and started to place them together. I used a picture of a minecraft bee for reference and adjusted the squares to make the preportions accurate to the minecraft model. I then created the wings by flattening some squares and alinged them in the shape of wings. Then I moved the wings onto the back of the bee and made sure they where centared. I then made sure the model was ready to download for 3d printing.
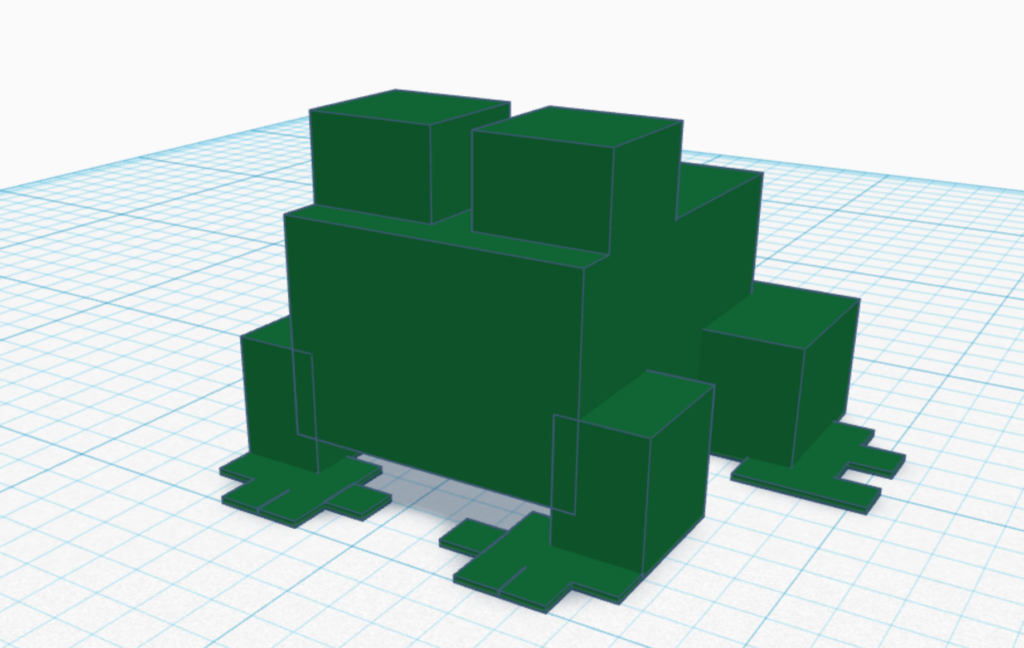
TITLE: MC Frog
YOUR ROLE: 3D Modeler
MEDIA: 3D Modeling
SOFTWARE: Tinkercad
HARDWARE: Windows 11
CLASS: FMX 213-1 – 3D Printing and Modeling
PROFESSOR: Stephen Dinehart
SEMESTER / TERM: SP 23
INSTITUTION: University of Tampa
DESCRIPTION: I created several squares and started to place them together. I used a picture of a minecraft frog for reference and adjusted the squares to make the preportions accurate to the minecraft model. I then created the feet by flattening some squares and alinged them with the legs. I then made sure the model was ready to download for 3d printing.
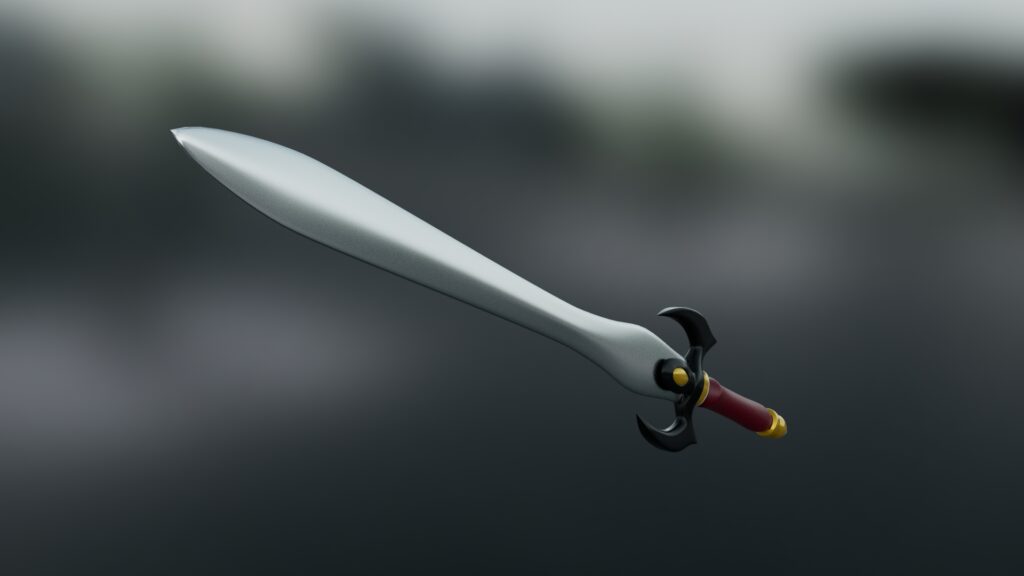
TITLE: Sword
YOUR ROLE: 3D Modeler
MEDIA: 3D Modeling
SOFTWARE: Maya
HARDWARE: Windows 11
CLASS: FMX 317-1 – 3-D Animation II
PROFESSOR: Marcio Goncalves
SEMESTER / TERM: SP 23
INSTITUTION: University of Tampa
DESCRIPTION: I found a reference image of a sword. I then beleved and extruted the model making sure it alined with the refrence. I then adjusted the points of the sowrd to make it seem sharper. Then I worked on adding in the textures. I then added in the lighting and angled in a way I like before rendering it.
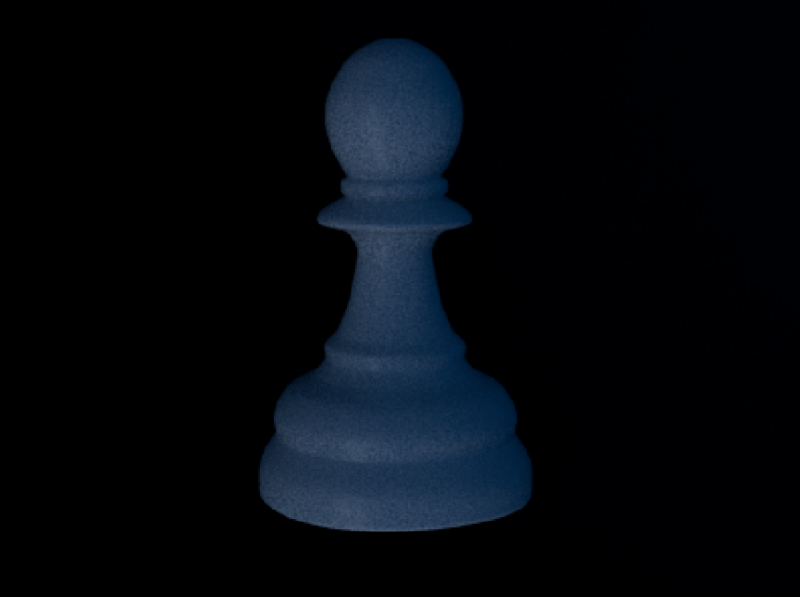
TITLE: Chess pawn
YOUR ROLE: 3D Modeler
MEDIA: 3D Modeling
SOFTWARE: Maya
HARDWARE: Windows 11
CLASS: FMX 213-1 – 3D Printing and Modeling
PROFESSOR: Stephen Dinehart
SEMESTER / TERM: SP 23
INSTITUTION: University of Tampa
DESCRIPTION: I found a reference image of a chess pawn. I then beleved and extruted the model making sure it alined with the refrence. Once that was finshed I made sure the model would be smooth when exported for 3d printing. I then exported it.
TITLE: R2D2
YOUR ROLE: 3D Modeler
MEDIA: 3D Modeling
SOFTWARE: Maya
HARDWARE: Windows 11
CLASS: FMX 217-1 – 3D Animation
PROFESSOR: Marcio Goncalves
SEMESTER / TERM: SP 22
INSTITUTION: University of Tampa
DESCRIPTION: I first found a reference image of R2D2. I started creating the model based on the reference image, making sure the model lined up with the refence. I then working on beveling and adding all of the details. I then mapped a few different textures onto the model. Afterwards I added in the lighting and rendered a turn table of the piece.
TITLE: Book
YOUR ROLE: 3D Modeler
MEDIA: 3D Modeling
SOFTWARE: Maya
HARDWARE: Windows 11
CLASS: FMX 217-1 – 3D Animation
PROFESSOR: Marcio Goncalves
SEMESTER / TERM: SP 22
INSTITUTION: University of Tampa
DESCRIPTION: I first found a reference image of a book I wanted to recreate. I started making the book by first creating the cover. I then added many thin models to create the pages, adding motches into some of them to create a worn down look. I then mapped a few different textures onto the model. Afterwards I added in the lighting and rendered a turn table of the piece.
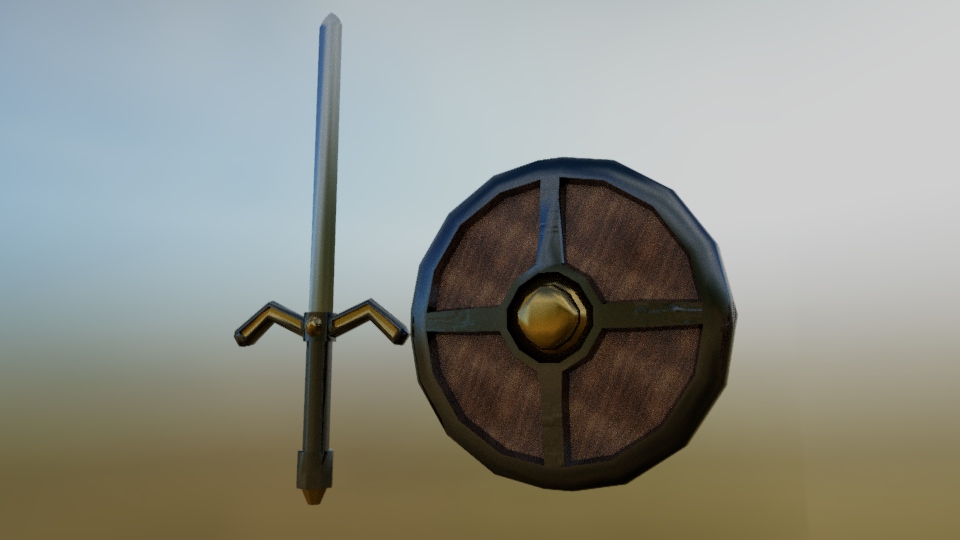
TITLE: Sword and Shield
YOUR ROLE: 3D Modeler
MEDIA: 3D Modeling
SOFTWARE: Maya
HARDWARE: Windows 11
CLASS: FMX 217-1 – 3D Animation
PROFESSOR: Marcio Goncalves
SEMESTER / TERM: SP 22
INSTITUTION: University of Tampa
DESCRIPTION: I started modeling the sword by beveling and extruding pieces into the shape of the handle. I then extruded the blade from the handle to make the sword. I then worked on modeling the shield in the simalr fastion. Once I finished the models I worked on texturing them and adding in the lighting. I then rendered them.
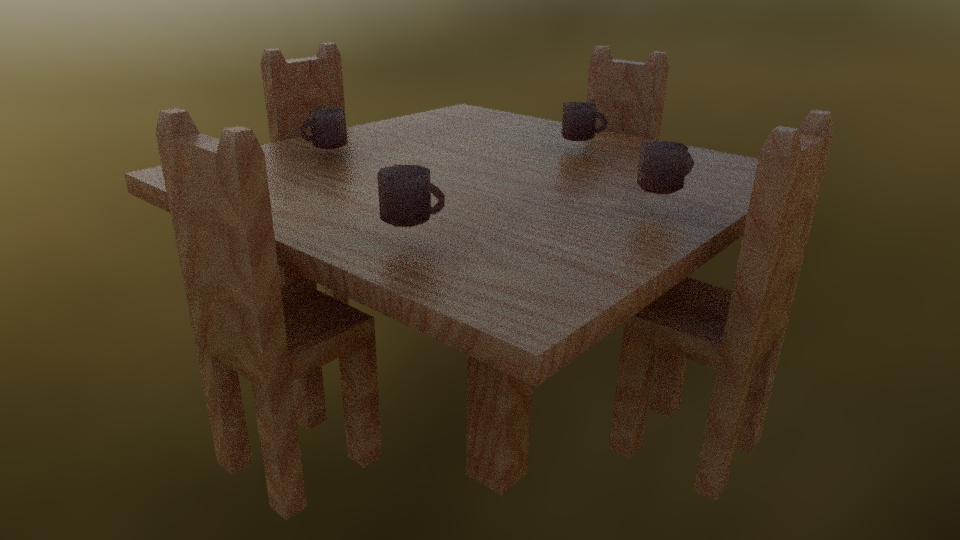
TITLE: Tables and Chairs
YOUR ROLE: 3D Modeler
MEDIA: 3D Modeling
SOFTWARE: Maya
HARDWARE: Windows 11
CLASS: FMX 217-1 – 3D Animation
PROFESSOR: Marcio Goncalves
SEMESTER / TERM: SP 22
INSTITUTION: University of Tampa
DESCRIPTION: I first started with modeling the table. I made a large spare and then beved legs out of it. I then used similar techniques to create a chair a cup before makeing copies of them. I places the cups and chairs around that table. I then added a wood texture to it before adding in the lighting. I then rendered the piece.
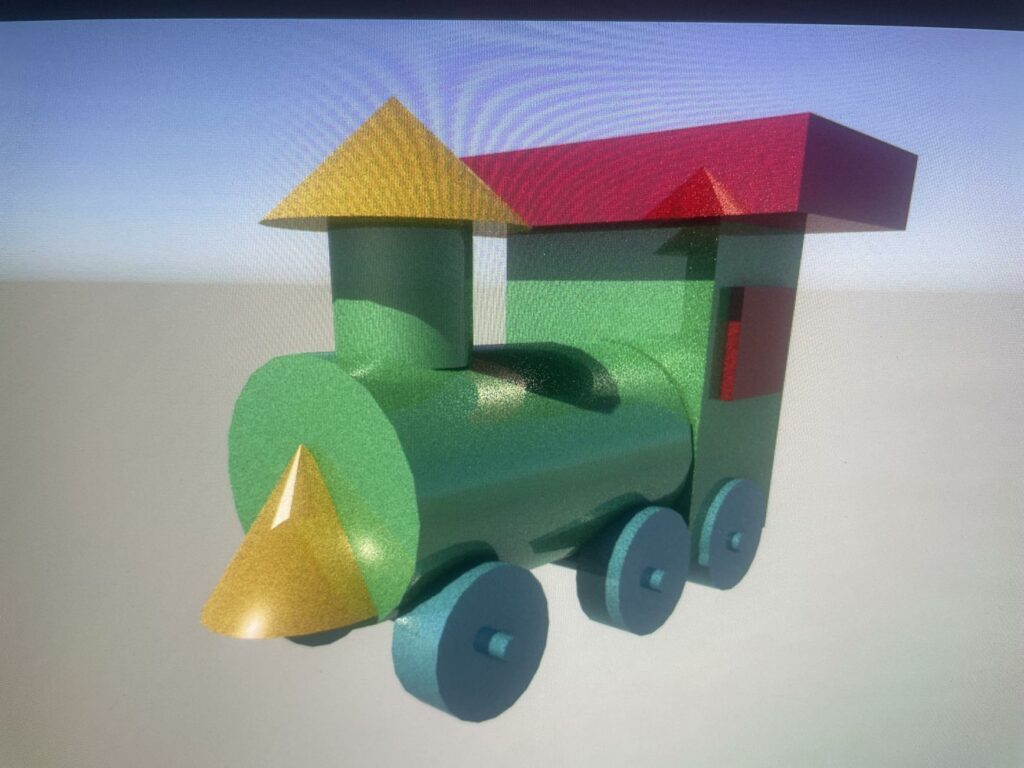
TITLE: Train
YOUR ROLE: 3D Modeler
MEDIA: 3D Modeling
SOFTWARE: Maya
HARDWARE: Windows 11
CLASS: FMX 217-1 – 3D Animation
PROFESSOR: Marcio Goncalves
SEMESTER / TERM: SP 22
INSTITUTION: University of Tampa
DESCRIPTION: I started modeling simple shapes in Maya. Then carfluyy moved them around and combined them to make a train. I then changed their colors so you could see all the elements. Then I made some adjustment and added in the lighting. Once I was happy with how it looked I took a screenshot of the train.